

Install the AutoCAD and Revit Exporters
Perform the following steps to install the VEO exporter plugin for AutoCAD and Revit.
For information on all steps required to configure the Newforma Model Viewer, please see Newforma Model Viewer Setup and Workflow.
To install the VEO exporter plugin for AutoCAD and Revit
1. 1. Click on one of the following links to access the appropriate installer for your system:
AutoCAD 64-bit: Newforma_VEO_AutoCADPlugin-x64.msi
AutoCAD 32-bit: Newforma_VEO_AutoCADPlugin-x86.msi
Revit 64-bit: Newforma_VEO_RevitPlugin-x64.msi
Revit 32-bit: Newforma_VEO_RevitPlugin-x86.msi
To determine if your system is 64-bit or 32-bit, click
the Windows Start button, then
Control Panel, then
System and Security. Under System
click See the Name of this Computer.
The System Type field will display
64-bit Operating System or 32-bit Operating System.
For Windows 8, press the Windows key
to access the Start screen, then
type Control Panel and select
it from the options on the screen. Click the System
Information icon to view the system type.
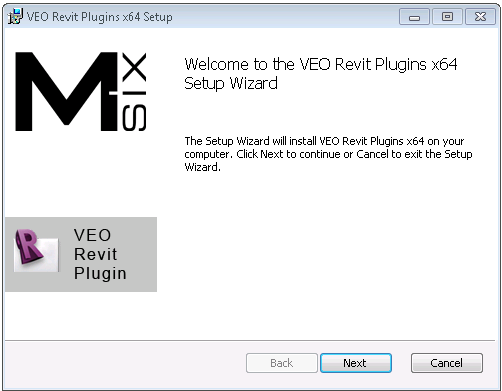
2. The welcome
screen for the selected installer appears as shown below. Click Next to continue.
3. On the End-User License Agreement screen, review the license agreement, then select the I Accept the Terms in the License Agreement checkbox and click Next to continue.
4. On the Custom Setup screen, accept the default settings and click Next to continue.
5. Click Install to install the plugin.
6. Click Finish to complete the installation.
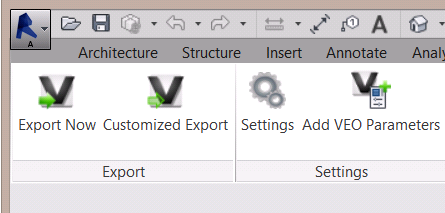
7. Launch
Revit. The VEO tab, shown below,
appears in the menu bar:
You are now ready to export projects from Revit to the Newforma Model Viewer Powered by VEO. For more information, please refer to Export a Project from Revit to the Newforma Model Viewer.