

Add a Revision to a Record Document
Perform the following steps to add a revision to a record document to track a drawing.
To add a revision to a record document
|
1. |
If you are not already there, open the Document Control activity center by clicking Document Control from the Project Home activity center or from the Activities list. |
|
2. |
Select the record document you want to add a revision to from the list, then click Add Revision from the Tasks panel to open the Add Revision dialog box, as shown here:
|
|
3. |
Enter a value in the Revision ID field if you want to use something other than the generated ID. |
|
4. |
Locate and select the revised file in the Filename field by clicking the |
|
5. |
Enter a description of the revision in the Description field. |
|
6. |
Select the revision's state in the State field. |
|
7. |
Click OK. The revision information is added to the record document's Revision History tab. |
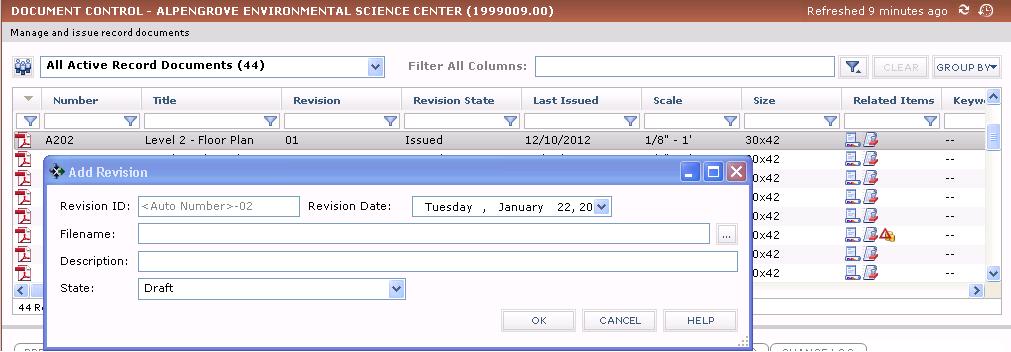
 button.