Import Record Documents from a Spreadsheet
This topic offers guidelines on creating a spreadsheet template in Microsoft Excel for importing existing record documents into Project Center.
You can access the sample record document spreadsheet template supplied with Project Center in its default location: C:\Program Files\Newforma\Tenth Edition\Project Center\Templates\Import_Record_Documents_Template.xlsx.
1 You must be a Project Center administrator to perform this procedure.
Record documents fields
The import spreadsheet has the following fields:
-
Number – Unique numbers are required.
-
Title – Not required.
-
Size – Not required.
-
Scale – Not required.
-
Keywords – Not required. A list of keywords for the record document, delimited by semi-colons (;). It must match the keyword list if the user is not allowed to edit the keyword list.
-
Discipline – Not required.
-
Owner - Not required. If used, must be a valid email address format or project team member name.
-
Team Members – Not required. If used, must be in a valid email address format or project team member name.
-
Description – Not required.
-
Type – Not required. A list of type keywords for the record document, delimited by semi-colons (;). It must match the type keyword list if the user is not allowed to edit the type keyword list.
-
Purpose – Not required. A list of purpose keywords for the record document, delimited by semi-colons (;). It must match the purpose keyword list if the user is not allowed to edit the type keyword list.
-
Revision number - Not required. If left empty, a new auto number will be assigned to the new revision. If entered, for the new revision, the number should be unique in that record document. If entered a revision number of an existing revision, the existing revision will be modified.
-
Revision prefix - Not required.
-
Revision suffix - Not required.
-
Supporting Docs – Not required. List of full UNC paths to any file type separated by asterisks.
-
ID – GUID of the record document. Leave blank. For internal use only.
To create an import file for record documents and import it
|
1. |
Make a backup copy of your existing spreadsheet with the data. |
|
2. |
Edit the spreadsheet and fill in the required data:
|
|
3. |
Copy your data columns to the Import_Record_Documents_Template.xls file, replacing the sample columns with your own information. |
|
4. |
The Discipline - Delete, Purpose - Delete and Type - Delete tabs include the keyword list values for the Discipline, Purpose and Type fields. Change any of the existing values by simply typing a new value in the same cell. 1 For information on extending the list with additional values, please refer to Add Keyword Values to a Spreadsheet Template. |
|
5. |
Edit the field values based on the information given in the Record documents fields section above. Add values to fields where required. |
|
6. |
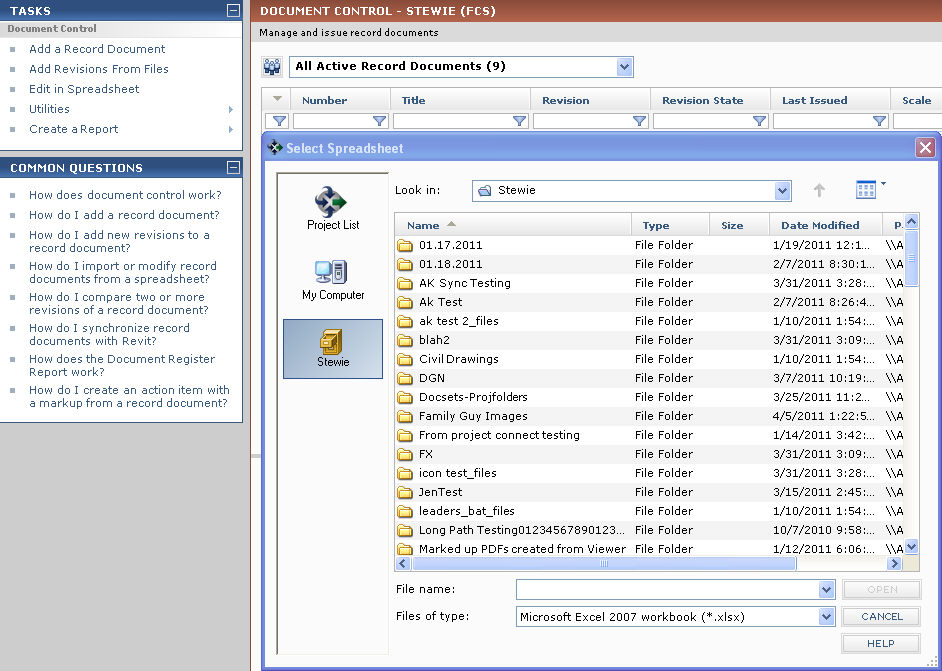
After you finish editing the Import_Record_Documents_Template.xls spreadsheet, import it into a Project Center project by opening the Document Control activity center and clicking Utilities > Import Spreadsheet from the Tasks panel to open the Select Spreadsheet dialog box, as shown here. Locate the spreadsheet, then click Open.
|
|
7. |
After it is imported, the Import Log dialog box opens showing any import errors. Fix any errors that appear in the spreadsheet, then re-import it. 1 The import will not succeed until all errors are addressed. After the spreadsheet is imported, each row in the spreadsheet becomes a record document, and the record documents appear in the appropriate categories. |